How to fix the Desktop PC Auto Shutdown Problem
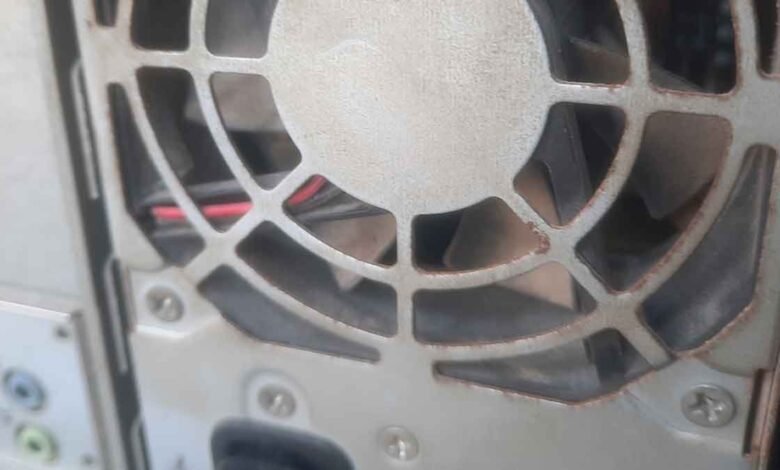
PC Auto shutdown problem after a few seconds is a common problem in desktop Computers. There are many reasons for the PC auto Shutdown problem. Today we will fix this problem by following some basic steps. this is a step-by-step guide to fix this problem
I was sleeping when my mobile started ringing. On the call, the client tells me about his HP desktop PC auto shut down after a few seconds. I said okay I am coming to my shop. This was my permanent client from near the village. He contacted me after 5 years. But I recognized him.
He was in a great hurry I told him to place your PC in my shop naibours shop. After reaching my preparation shop I plugged in the power cord and tried to diagnose the PC problem. This was an HP DC 7900 Tower PC with a PC Auto Shutdown Problem.
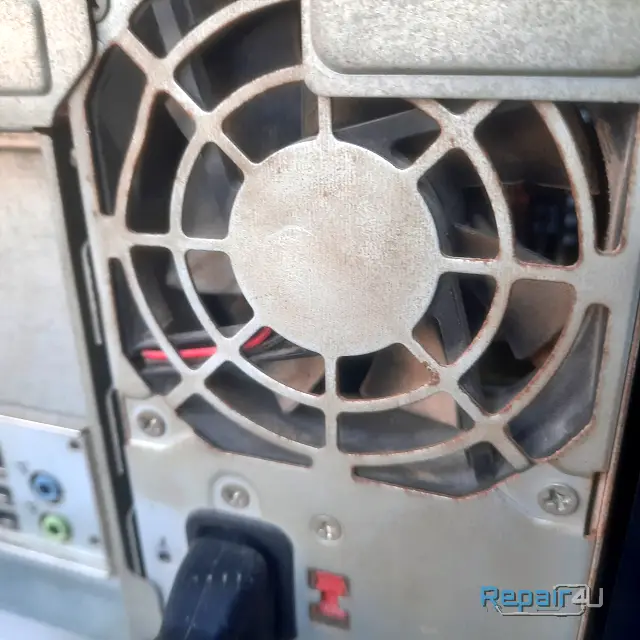
Table of Contents
What was the Condition of the PC
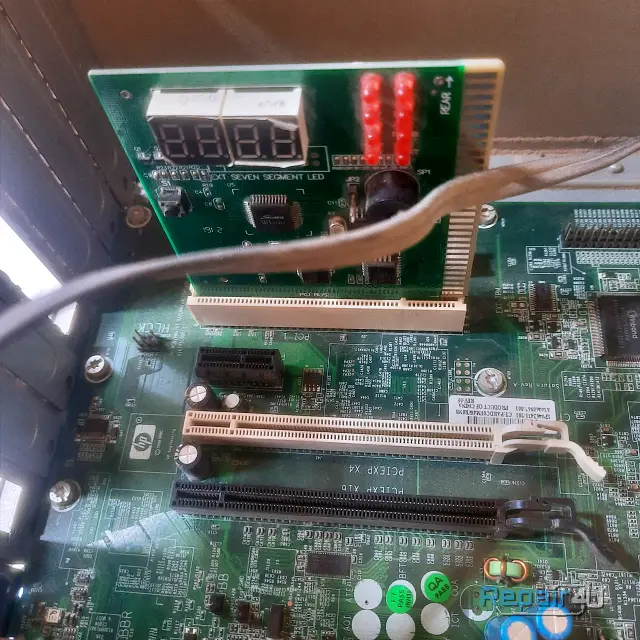
As I press the power button. The PC fan starts working and auto shuts down after 5 or 6 seconds. There was no Display on the Screen. I repeated the same testing process but the PC fault was the same. I unplug the power supply plugs and check the power supply.
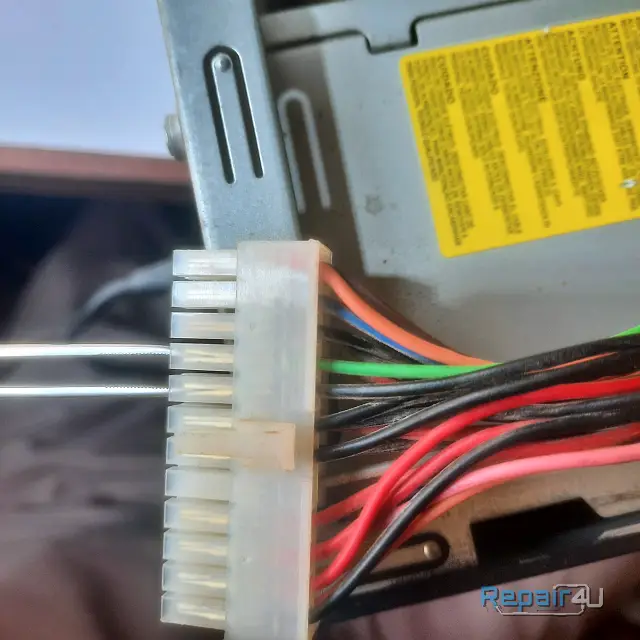
I Connect the supply ON Pin with the ground pin. Desktop PC Supply’s starting pin color is green and the Ground Pin color is black. The power supply was working properly and. the Power supply fan was working continuously. so the power supply was not faulty. The Motherboard was faulty. This is a good paractic to test the PC before start fixing it.
Tools Need to Repair Desktop Motherboard
- A screwdriver
- WD-40
- Thinner
- Used toothbrush
- Rubber
- SMD machine
- Soldering Iron
Tips to fix the Desktop PC Auto Shutdown Problem
Keep the workstation neat and clean. Keep the tool near to you. Clean the dust in the PC and Power supply with the air blower. Always use nonconductive shoes during repairing the motherboard.
Read this helpful and infortive article and guide on How to Replace HP Laptop Screen? This is Step by Step Guide.
Follow these steps to fix the Desktop PC Auto Shutdown Problem
Follow these steps to fix the Desktop Follow these steps to fix the Desktop PC Auto Shutdown Problem
1 Hour 1 hour
Unmount all screws
Unplug all connectors like USB, sound, front panel, etc. Unmount all the screws of the processor and remove the processor heat sink. No need to remove the processor at this time. Unmount all the screws on the motherboard.
Take out the motherboard from the PC casing
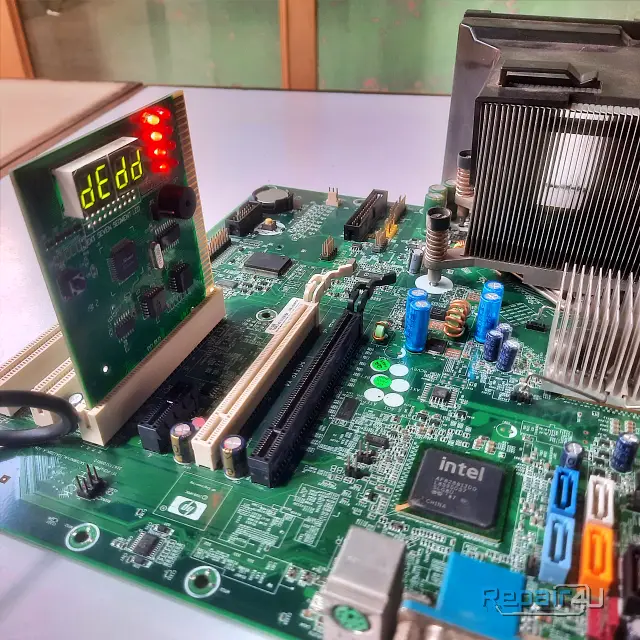
After unmounting all the screws and removing all the connectors and power supply cords take out the motherboard from the computer Casing and place it on the working desk.
Take a close look at the motherboard components
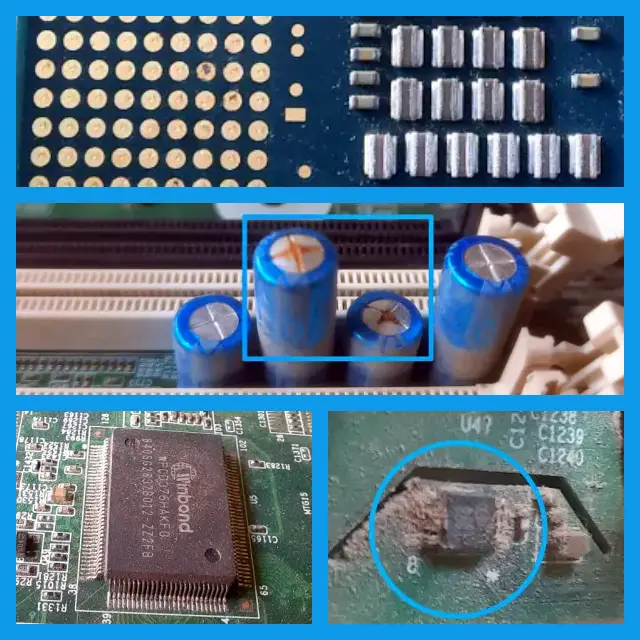
always manually check all the components. after a manual check, I found 3 issues on the motherboard. 1st there were 2 Blown Capacitors near the RAM Section. 2nd The Power IC was rusty. 3rd a small IC near the VRM Section was dusty and rusty. Now Time to Fix The Problem.
Changing the Blown Capacitors
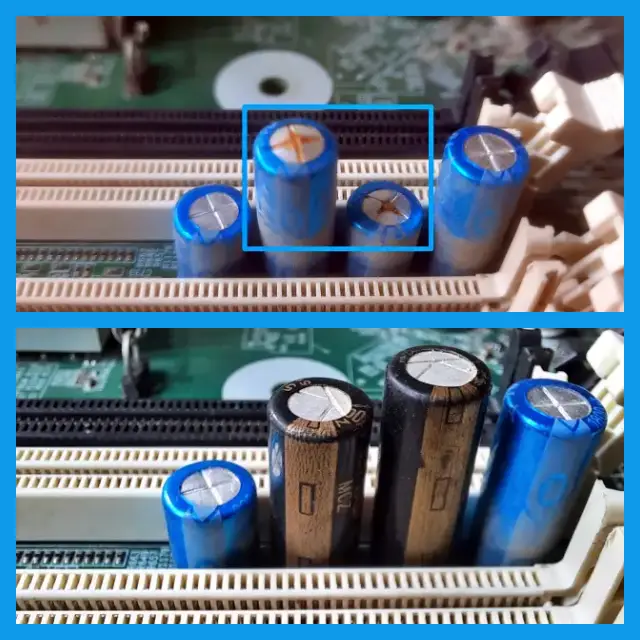
Chang the blown capacitors if you found any blown capacitors on the motherboard. You can use any Soldering Iron for this purpose. Try to replace Capacitors with the same value. In this case study there are 2 capacitors near the RAM section to change 1800uf 6.3v and 820uf 6.3. You can use 1800uf 16v and 820uf 16v or 10v. no need to worry.
Clean the Power IC’s Pins
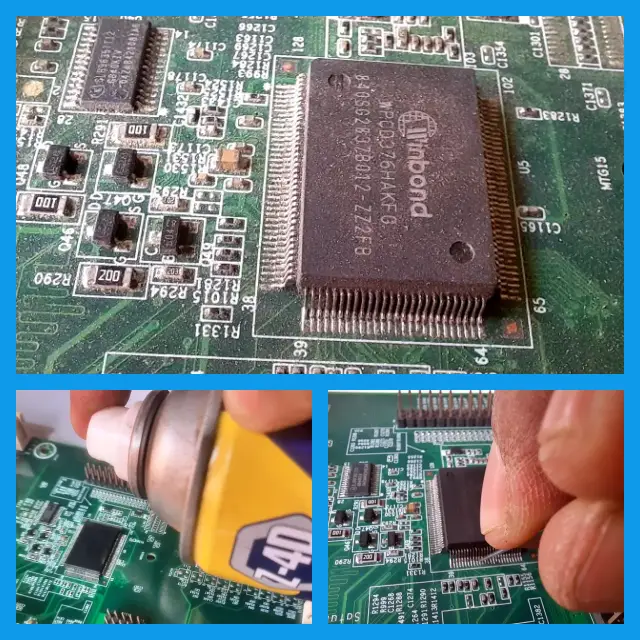
You can use a toothbrush to clean the Power IC. First, clean the IC with a dry brush to remove the dust. now spray WD-40 on the IC, ‘s Pins and keep it for 10 minutes to dissolve the rust. clean the rust with a brush. use a small needle to remove the rust on the power IC points. Start the SMD Machine and set it to normal temperature. apply some soldering flux on the Power IC pins to soldering it with the SMD machine. No need to open extra heat. After soldering the Power IC wait to cool it. Spray some paint thinner on the IC Wash it with a brush to remove soldering flux.
Clean the Small IC’s Pins
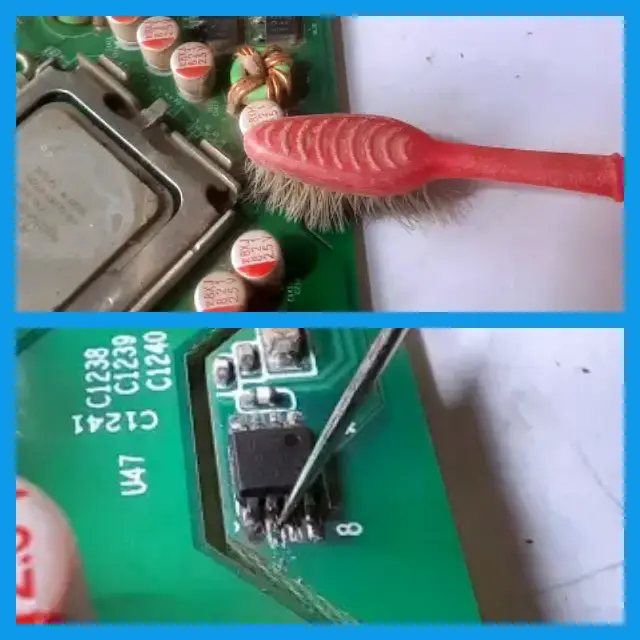
Clean the Small IC. repeat the above steps of cleaning the Power IC to Clean the small IC. Use the magnifier to Check Saml IC Pins. all the Pins should be cleared and no continuity in the Small IC Pins. Continuity creates short circuits and this is the reason for the auto shutdown problem. You Should Check All the ICs in Your Case. If you find any other IC must clean it.
Clean The Processor’s Pins
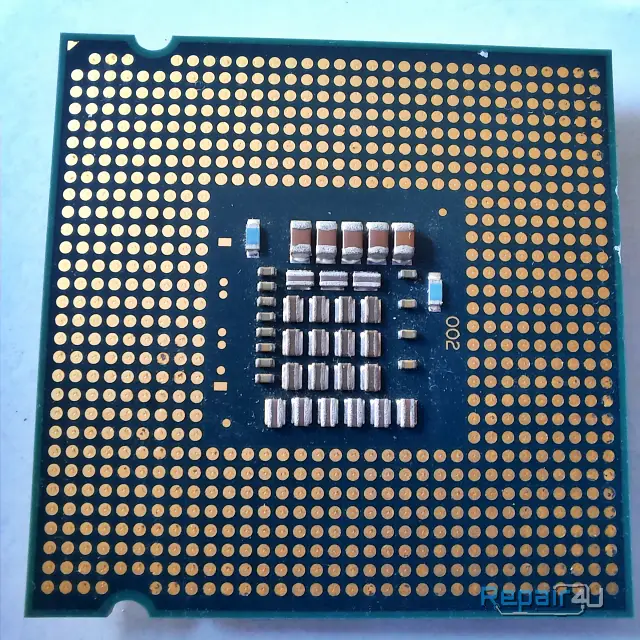
I found some rust on the Processor’s Pins. I use an Eraser to clean the rust on the processor’s pins. You Can use WD-40 on the processor but after using WD 40 clean the processor with cotton of a soft cotton cloth. In your case, if the processor is not rusty then skip this step. Clean the Pins only with any soft cloth.
Time to Test the Motherboard
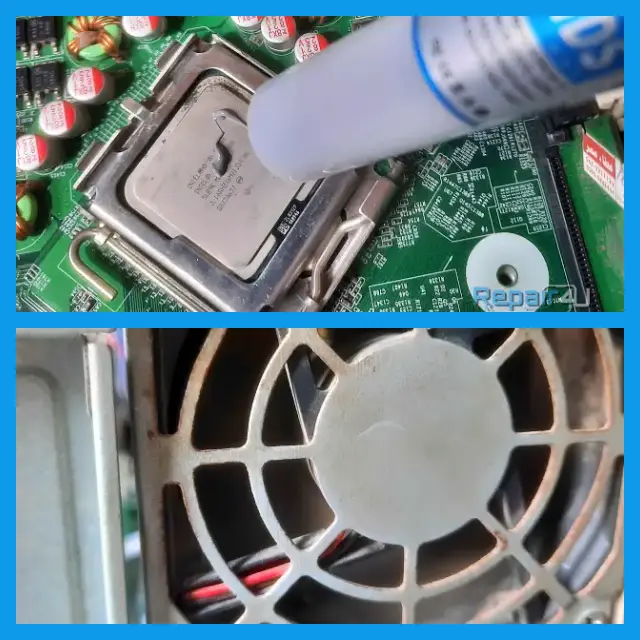
Apply Thermal paste on the processor keep the processor’s heatsink on the processor and plug the power supply cords. Turn on the PC and test it before fitting it again in the PC Casing. Yes, the PC is Working
Check the Display and OS
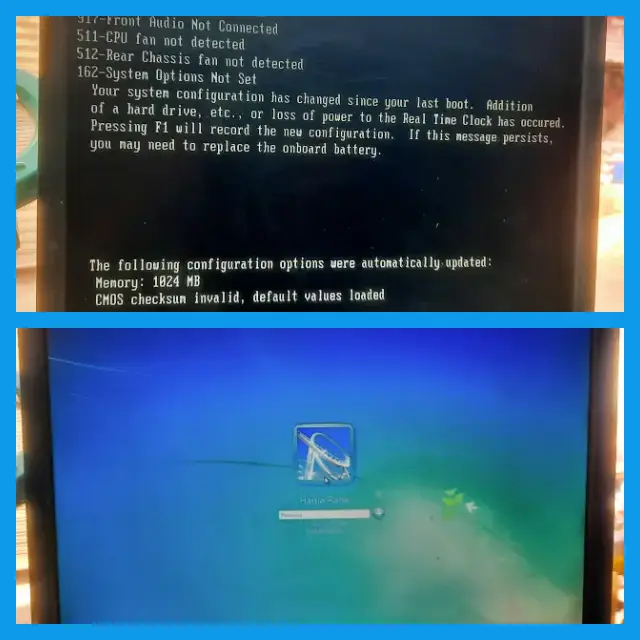
Plug the VGA Cable and turn on the PC. Check The Display on the LCD Screen. Check the Power Supply Fan and Processor fan. if all PC Fans are working. Plug the Hard Disk into the SATA connector and Boot any OS to Final test. If pc is working for 5 minutes then fit the motherboard into the casing. Your PC is Ready to Work Now.
Now PC is on and all computer’s fans are working after fixing Desktop PC Auto Shutdown Problem.