How to Replace HP Laptop Screen DIY
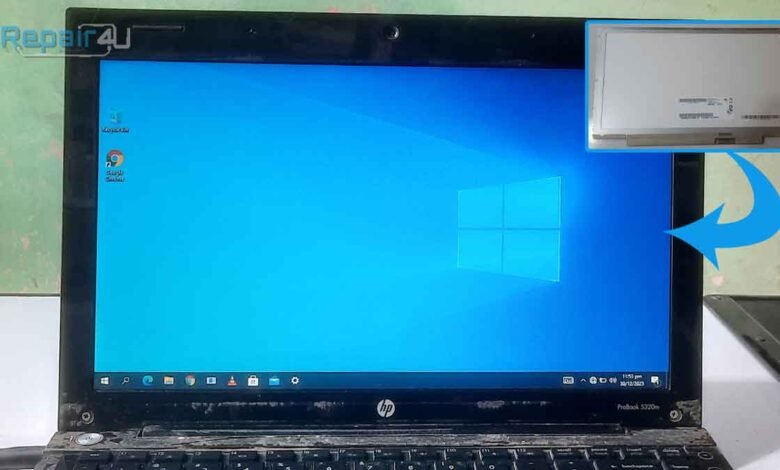
Today we will learn how to replace HP laptop Screen at Home DIY(Do It Yourself). Laptop Screen is a very sensitive part of the laptop. Taking the laptop to a laptop repair shop and waiting for your turn is a headache. Today is a rushed life nobody has time to waste it’s time to go to a laptop repair shop or laptop service area. Learn to fix if your Laptop Stuck while Installing Operating System.
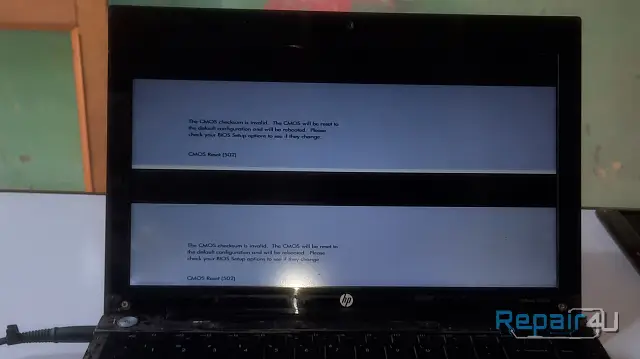
Today we will Replace the HP ProBook 5320m Laptop Screen. You can see the problem in the image below. The Laptop was felled by my client. if you are a newbie and don’t know how to Replace the laptop screen at home
So don’t worry read and follow this comprehensive guide on how to Replace HP Laptop Screen. You can change any laptop screen after reading this step-by-step guide on replacing laptop screens at home. let’s start but read these basic instructions first about laptop screens.
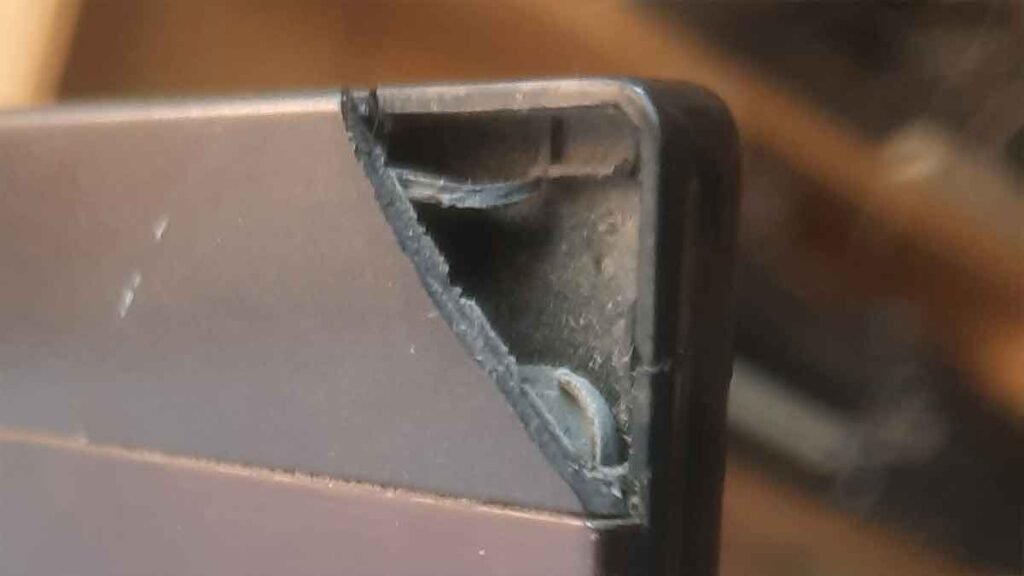
Table of Contents
How laptop screens work
The working process of the Laptop screen is very simple. The video signals from the laptop motherboard to the laptop screen go through an LVDS cable. a backlight system glows and brightens the Laptop Screen. there are different types of laptop screens available in the different laptops. laptop screen size, type, and resolution are the key points to keep in mind before changing it. I am not digging this topic deeper. I aim to provide you with some key points.
What is the difference between a laptop LED Screen and a Laptop LCD screen?
Laptop screens or other desktop display screens use 2 types of backlight systems
fluorescent Backlight system
In this backlight system, a fluorescent rod is used to glow the screen. this backlight system was used in an old laptop model. this type of backlight system uses more energy and makes an impact on the laptop battery timing. in cold environments, this backlight system takes some time to glow the screen properly.
LED Backlight System
In Short, LED is the abbreviation of Light-emitting Diode. small size LEDs are used in this backlight system. The working process of the Laptop LED screen is very simple. The video signals from the laptop motherboard to the laptop screen go through an LVDS cable.
Tools we need to Replace HP laptop screen
No need for extra tools to replace the laptop screen. here is the list of tools used to replace laptop screens.
- T4 screwdriver
- Flat screwdriver
- T15 screwdriver
- Transparent Tape or any other PVC tape
Tips before Replace HP laptop screen
- Prepare your workplace before opening and replacing the laptop screen.
- Clean the workplace with cloth.
- Place the laptop on a plane and stable surface.
- The tool should be available on the desktop’s right side.
- Keep the tools in the near to your right hand.
Read This step-by-step guide on How to fix the Desktop PC Auto Shutdown Problem
Let’s learn How to Replace HP Laptop Screen DIY
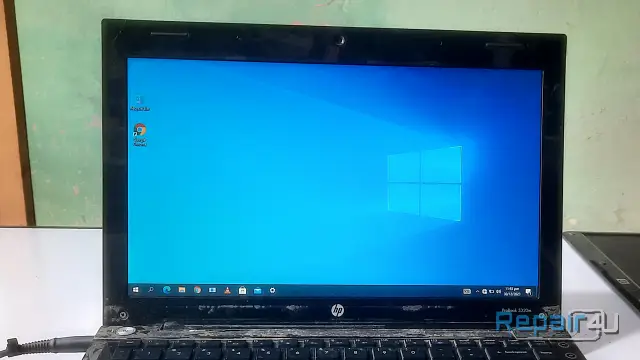
This is the step-by-step Guide to Replacing HP Laptop Screens. The laptop model is HP ProBook 5320m with a 13.3-inch Screen. This is an LED backlight system display screen. This is a comprehensive guide on How to Replace HP Laptop Screen.
30 Minute 30 minutes
Remove the External Screws
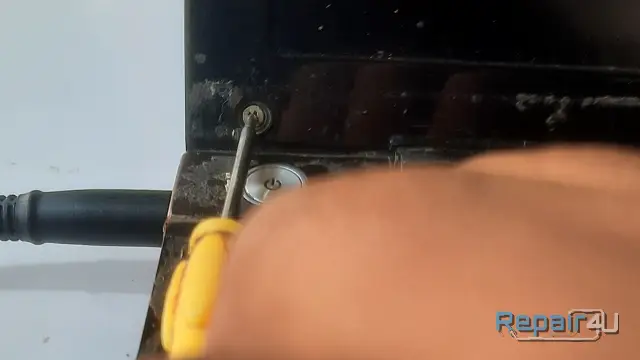
Open the laptop and remove the screws from the bottom left and right side. If you have a different laptop model remove all external screws using the right screwdriver according to your laptop screw. I am using a T4 Screwdriver to remove the screws.
Some laptop models are Screw less bezel. In this case, open the bezel with a small flat screwdriver. You can use a non-sharp knife for this purpose. or you can use any hard plastic tag.
Remove the Bezel
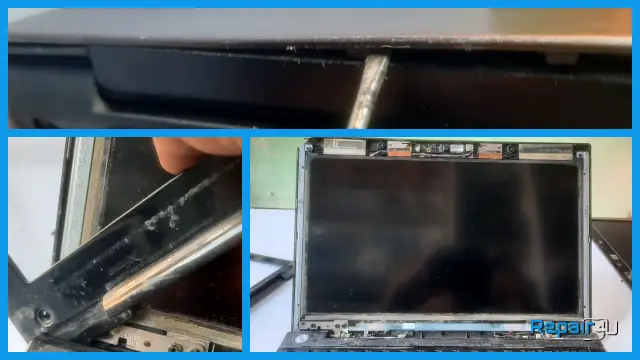
After removing the screw use a small flat screwdriver or a hard plastic tag card to open the internal locking system of the laptop screen. You need extra care at this time because if the screwdriver slips it can break the Laptop Screen. Remove the front bezel and place it in a safe place.
Remove the Internal Screws
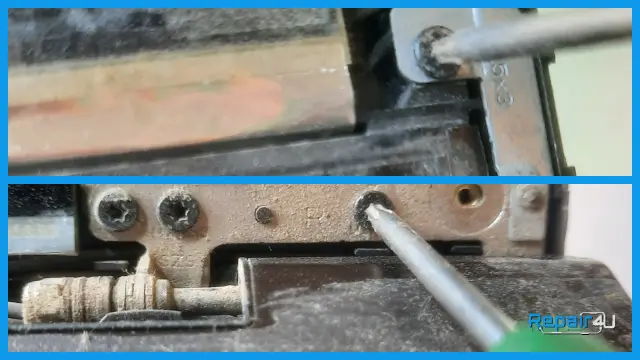
now remove the internal screws using a T15 screwdriver from the top left, right and bottom left, and right sides of the laptop. Every laptop model has a different screw system. So remove all the screws that are holding the laptop screen. No need to remove the hinges,s screws.
Remove the LVDS Cable
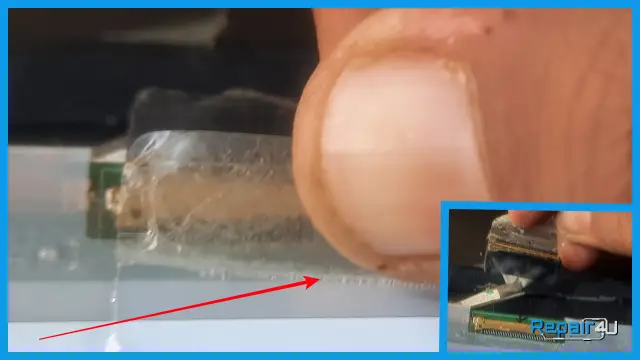
After removing all the screws pick up the laptop screen carefully and remove the LVDS cable. If there is a flex tape on the LVDS connector. Remove it with any sharp tool or you can use your nails to remove the tape. If your laptop model has a fluorescent lamp cable. Remove it also. But if your laptop is using an LED backlight then remove only the LVDS cable.
Remove the Screen and find the Screen Model Number
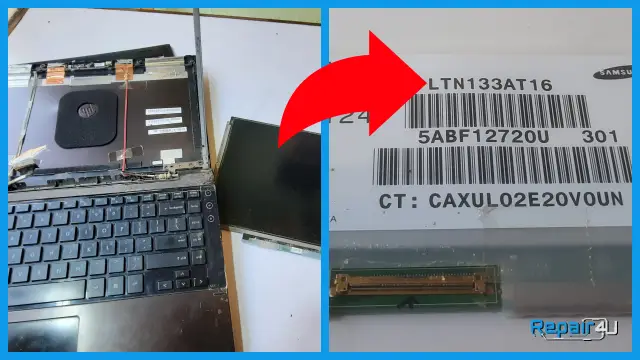
Now remove the laptop LED screen and try to find the Screen model number on the backside of the screen. After finding the screen model number Search the screen model number on the internet. This screen model number is LTN133AT16. You can use any search engine in any browser. I prefer Google as a search engine and Google Chrome as a browser to search and read the spec sheet of your laptop screen.
After downloading open the downloaded PDF into any PDF reader. You can open PDFs in Google Chrome without installing any other PDF reader.
After reading the Spec sheet you can order a laptop screen online. Find a bestseller and order the screen.
Keep these points in mind before replace HP laptop screen.
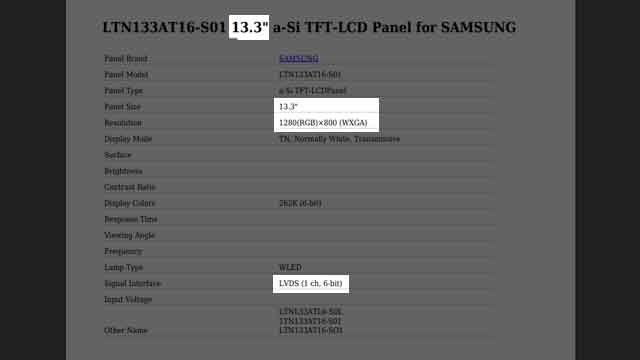
if you have the same Screen model number the old one and the new one then no need to check these points. If you are corresponding to the screen then Check these Points. 1=Resolution 2=Size 3=Bits and Channel.
Test the new Laptop Screen before final Fittings
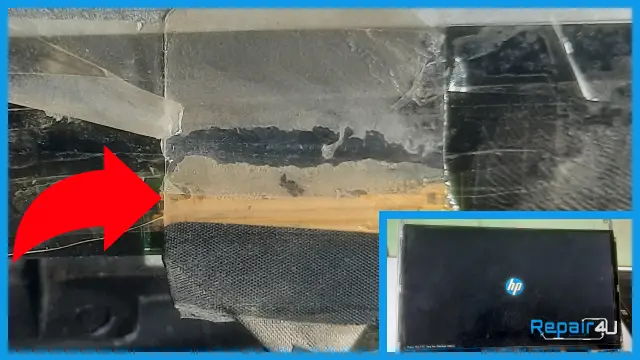
Connect the LVDS connector properly. double-check the LVDS connector. use any Tape on the LVDS connector. hold the new Laptop screen carefully with your hand and turn on the power to test the screen display.
Boot the OS and Check the Screen Resolution
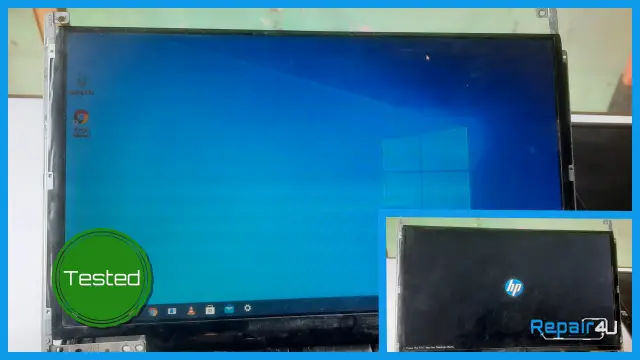
Before final fitting Boot any installed OS Operating System. Check the Screen dot spots and resolution. Open the brightness and Check the quality of the new Screen.
Time to Final Fitting the Laptop New Screen
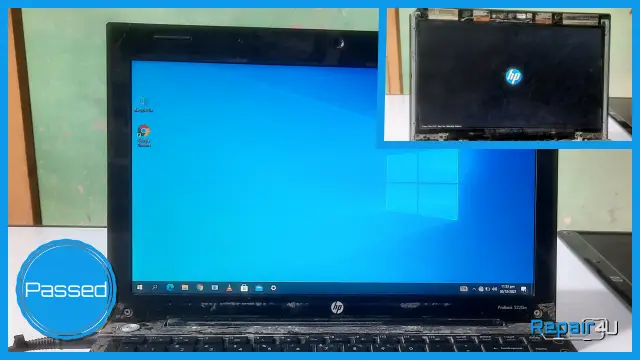
Now place the New laptop Screen carefully and mount all the internal Screws. Double-check that the Screen is Mounted correctly in the Arm. Mount the internal screws. After that once again boot the OS and check the laptop screen is working properly. If all is OK then mount the Bezel and external screws and turn on the laptop and enjoy the newly replaced Screen.
